Ice Cave Photography in Iceland: Spots and Settings
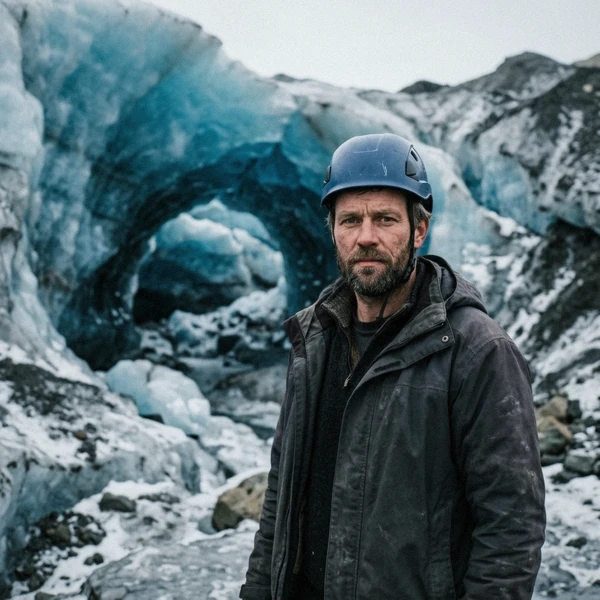
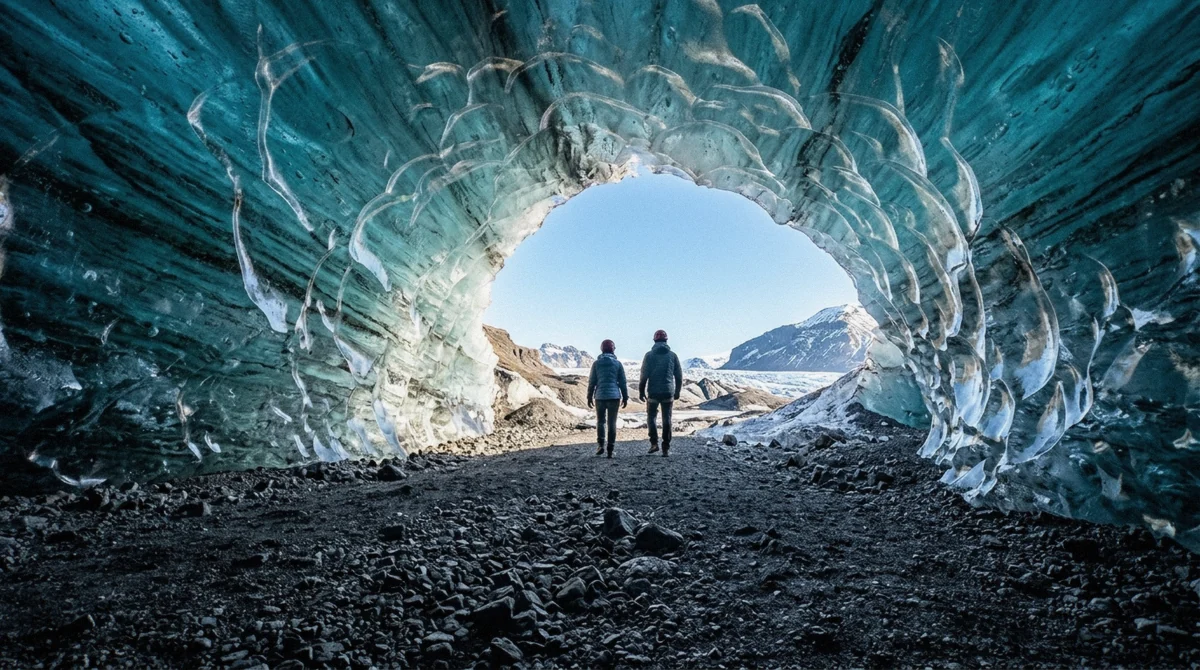
Most ice cave photography tips for Iceland skip the one that matters: the best photograph in a Vatnajökull cave is taken from inside, looking out, with a person standing in the entrance. It works because the one thing a cave gives you that nowhere else does is a frame of blue ice around a bright doorway, and because the exposure problem it creates is the same one every good cave photograph has solved. I watch people shoot these chambers most days of the season, and the pictures that fail almost never fail on light. They fail on condensation, a flat battery, or twenty minutes that went by faster than expected.
Quick answer
Shoot from inside the chamber toward the entrance, with a wide lens and a person in the doorway for scale. Expose for the ice rather than the sky outside, or bracket and blend, because the difference between a cave interior and a bright entrance is more than a sensor holds in one frame. You have twenty to forty minutes inside, no tripod room in a moving group, and a battery that will drain faster than you expect.
Key takeaways
- The shot: wide lens, from inside looking out, figure in the entrance for scale
- The exposure problem: bracket three frames or accept a blown entrance, since one frame will not hold both
- Time inside: twenty to forty minutes, shared with ten to fourteen other people
- Best light: a clear day after wind has stripped fresh snow off the roof, when the blue is deepest
- The three killers: condensation on the lens, a cold battery, and the group moving on
- Outside the cave, Diamond Beach at low sun is the strongest photograph on this coast
The Shots That Actually Work
Four compositions account for nearly every good photograph taken in these caves, and they are worth deciding between before you go in rather than while the group is moving.
| Shot | Lens | Approach | Watch out for |
|---|---|---|---|
| Entrance from inside, figure in the doorway | 16 to 24mm | Expose for the ice, bracket for the sky, keep the figure still and small | Blowing the entrance to white; ask someone to stand rather than waiting for a gap |
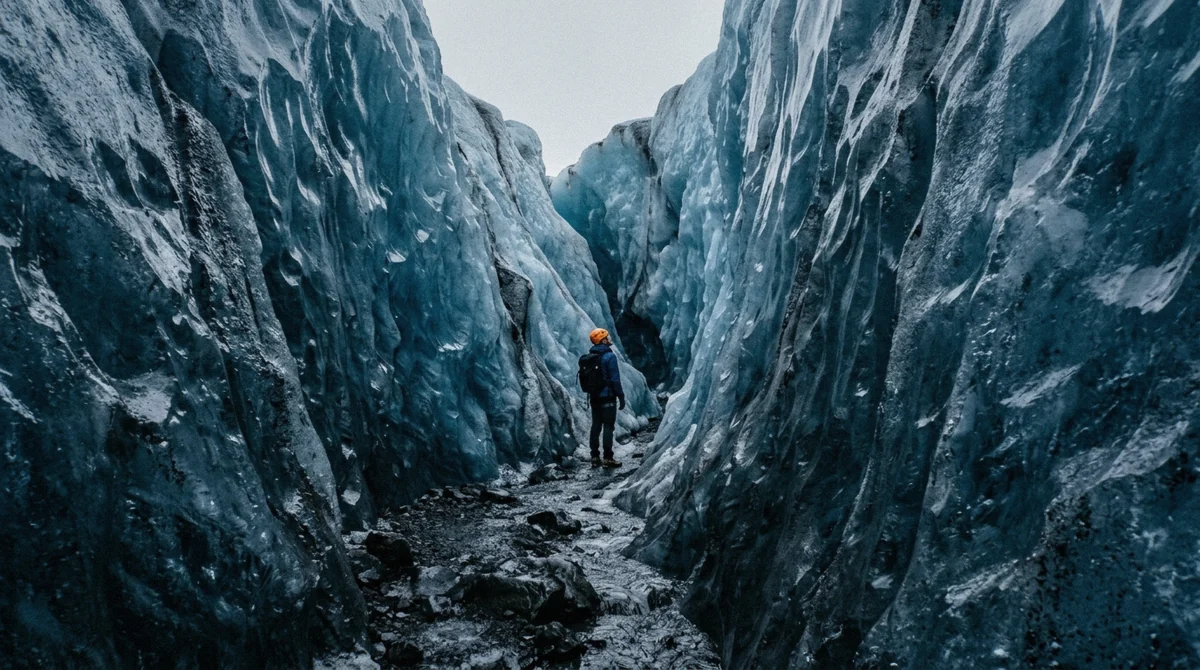
| Roof detail and ash banding | 24 to 50mm | Flat, even light works best here; the texture is the subject, not the shape | Camera shake at slow shutter speeds without a tripod |
| The full chamber, wide | 14 to 20mm | Back yourself against a wall, keep the horizon straight, include the floor for depth | Distortion pulling the walls; other people's helmets in frame |
| Hand or boot on the ice | 35 to 50mm | Close, shallow, one point of contact between a person and centuries-old ice | Cliché if posed; take it while somebody is genuinely touching the wall |
If you take one, take the first. It is the photograph that carries the place, and it is the one the light in these caves is built for. Which chamber you end up in depends on the operator and the day; the guided Vatnajökull ice cave trips list group sizes, which is the number that decides how much room you get.
Settings, Honestly
Inside a chamber
Cave interiors are darker than they look, because your eyes adapt and the sensor does not. Handheld, that usually means an aperture around f/4, ISO somewhere between 800 and 3200, and a shutter speed you can actually hold at a wide focal length.
With a tripod, if you get the chance, f/8 to f/11 for depth through the chamber and base ISO. Do not count on the chance. In a group of twelve moving through a corridor, a tripod is more often a liability than an advantage.
Shoot raw. The blue in glacier ice sits in a narrow band that white balance will fight you over, and raw is the difference between correcting it later and reshooting a trip.
The exposure problem, and the honest fix
An ice cave interior against a lit entrance covers a range no single exposure holds. You have three options and they are all legitimate.
Bracket three frames two stops apart and blend later, which gives the technically best result and needs you to stand still for a few seconds. Expose for the ice and let the entrance blow to white, which reads cleanly and is what most published cave photographs actually do. Or expose for the entrance and let the interior go dark, turning the frame into a silhouette study.
What does not work is metering the whole scene and hoping. That gives you grey ice and a grey doorway.
Colour, and why your photo looks less blue
The blue is real, and its intensity depends on how much light is travelling through the ice. On a clear day after wind has stripped snow off the roof, light reaches deep into the ice and the walls read strongly. Under fresh snow the same chamber reads grey-white.
Auto white balance tends to neutralise exactly the colour you came for. Set it manually to daylight and correct in raw, rather than letting the camera decide the ice is a colour cast.
Where the Shots Are, Outside the Cave
Four of these cost nothing but parking, and two of them are better photographs than the cave in poor conditions.
The Three Things That Ruin Photographs Here
Condensation
This is the big one and almost nobody plans for it. Bring a cold lens into a warm vehicle and it fogs instantly, inside and out, and can take twenty minutes to clear. Do that on the drive between two stops and you lose the second one.
The fix costs nothing: put the camera in a closed bag before you get into the warm, and leave it shut until it has warmed up. Coming the other way, cold to cold, there is no problem at all.
Batteries
Cold does not destroy charge, it hides it. A battery reading 60 per cent at the car park can cut out inside the chamber at 0°C and then recover in your pocket ten minutes later.
Carry two spares against your body under the mid layer, not in the camera bag. Swap early rather than at the moment the camera dies, which is always the moment the guide moves the group on.
The clock
Twenty to forty minutes, shared with ten to fourteen other people, is less shooting time than it sounds. Guides stage groups so there is a window with the chamber empty, and that window is short.
Decide your composition before you go in. Take the entrance shot first, while everyone else is still adjusting to the dark, and use the rest of the time for detail.
Light Through the Season
At 64 degrees north the sun stays low all winter, which is why photographers come here rather than in spite of the dark. The trade is between light quality and how many hours of it you get.
| Month | Daylight | What the light does | Verdict for photography |
|---|---|---|---|
| November | 6.2 hours | Low sun all day, long shadows, newly opened caves | Good, and quiet |
| December | 4.2 hours | Golden hour lasts most of the usable day | Best light, least of it |
| January | 5.0 hours | Same low sun, most stable ice of the season | Strong all round |
| February | 8.4 hours | Low sun plus a second departure slot | Best balance of the year |
| March | 11.7 hours | Sun climbs higher, contrast gets harder by late month | Good early, ordinary late |
| April to October | 15 to 21 hours | No cave to shoot; glacier surfaces and lagoons only | Landscape season, not cave season |
December gives the most beautiful light on this coast and roughly four hours of it, which means one cave departure and no second chances. February is the month I would book if the photographs matter more than the atmosphere, and the month-by-month guide covers what else each one trades away.
What You Cannot Do
Nothing here is arbitrary, and knowing it in advance saves an argument on the ice.
- No wandering off for a better angle: routes are scouted and the group stays on them
- No tripod set-up that holds the group; use one only when the guide has parked everyone
- No drone at Jökulsárlón between 15 April and 15 July, for nesting birds
- Commercial filming anywhere in Vatnajökull National Park needs a permit from the park
- No entering any cave unguided to shoot it at your own pace, in any season
- No lens changes on the ice in wind, unless you enjoy grit on a sensor
Recreational drone flying is otherwise allowed in much of the park under per-area conditions, and the park publishes maps of where and when. The rest of the rules are in what to wear and bring and our guide to ice cave safety.
Photography Questions
What camera settings work best inside an ice cave?
Handheld, around f/4 with ISO between 800 and 3200 and a shutter speed you can hold at a wide focal length. On a tripod, f/8 to f/11 at base ISO. Shoot raw and set white balance to daylight rather than auto, because auto tends to neutralise the exact blue you came for. The hardest part is not the darkness but the range between the interior and a lit entrance.
What lens should you take to an Iceland ice cave?
One wide zoom, roughly 16 to 35mm, covers almost everything: the entrance shot, the full chamber and a person for scale. Add a 50mm if you want roof texture and ash banding. Do not plan on changing lenses inside, where the space is tight and the group is moving, or outside in wind, where grit gets onto a sensor in seconds.
Can you bring a tripod on an ice cave tour?
You can carry one, and you will often not get to use it. Groups run ten to fourteen per guide through chambers that are sometimes narrow, and setting up while everyone waits is not welcome. The realistic use is the moment a guide parks the group for photographs. A wide aperture and a steady stance get you most of the way without one.
Why do my ice cave photos not look blue?
Two likely reasons. Fresh snow on the roof cuts the light travelling through the ice, so the walls genuinely read grey-white that day rather than blue. Or your white balance is on auto and the camera has decided the blue is a colour cast to remove. Shoot raw, set daylight white balance, and prefer a clear day after wind has stripped the roof.
Where is the best place to photograph icebergs in Iceland?
Diamond Beach, an hour after sunrise or before sunset, when low light comes through the clear blocks stranded on black sand. Jökulsárlón itself is better for icebergs with the glacier behind them, and the east shore keeps the low winter sun in front of you. Fjallsárlón, 10 km west, gives you the glacier front much closer for a wide landscape.
Can you fly a drone at Jökulsárlón?
Not between 15 April and 15 July, when a restriction protects nesting birds. Outside that window recreational flying is broadly permitted in Vatnajökull National Park under per-area conditions that the park publishes, including time-of-day limits in busier places. Filming for commercial use anywhere in the park needs a permit regardless of the season.